

iDenfy Identity Verification Flow
Below you can check a full regular flow.This flow can be customized and success results can be omitted as well. We recommend omitting them using our immediate redirect feature.
Getting Started
Obtain a Session Token
The SDK requires a session token to start initialization. See the session creation guide.Add the SDK Dependency
In the root level (project module) Gradle, add the following repository:If you are not using Advanced Liveness detection, you can reduce the SDK size by excluding the sdk-liveness module:
If you are not overriding any custom views or applying customization, you can use the dynamic version. If you did make layout changes, do not use the dynamic version, since runtime crashes can occur.
If you understand the disadvantages and still want to use the latest version, integrate the SDK as follows:
Configure Android Studio
The SDK uses Java 11. Verify that the version is configured:Configure the SDK
Provide the following configuration:Present the Verification Activity
Create an instance of IdenfyController to start the verification flow:Handle Verification Callbacks
The SDK returns verification results using Activity Result Contract, which you pass during initialization. The SDK provides theidenfyIdentificationResult callback class.
Callback Status Reference
autoIdentificationStatus
manualIdentificationStatus
The manualIdentificationStatus always returns INACTIVE unless your system implemented manual verification flow (step 11). The manual verification screen looks like this: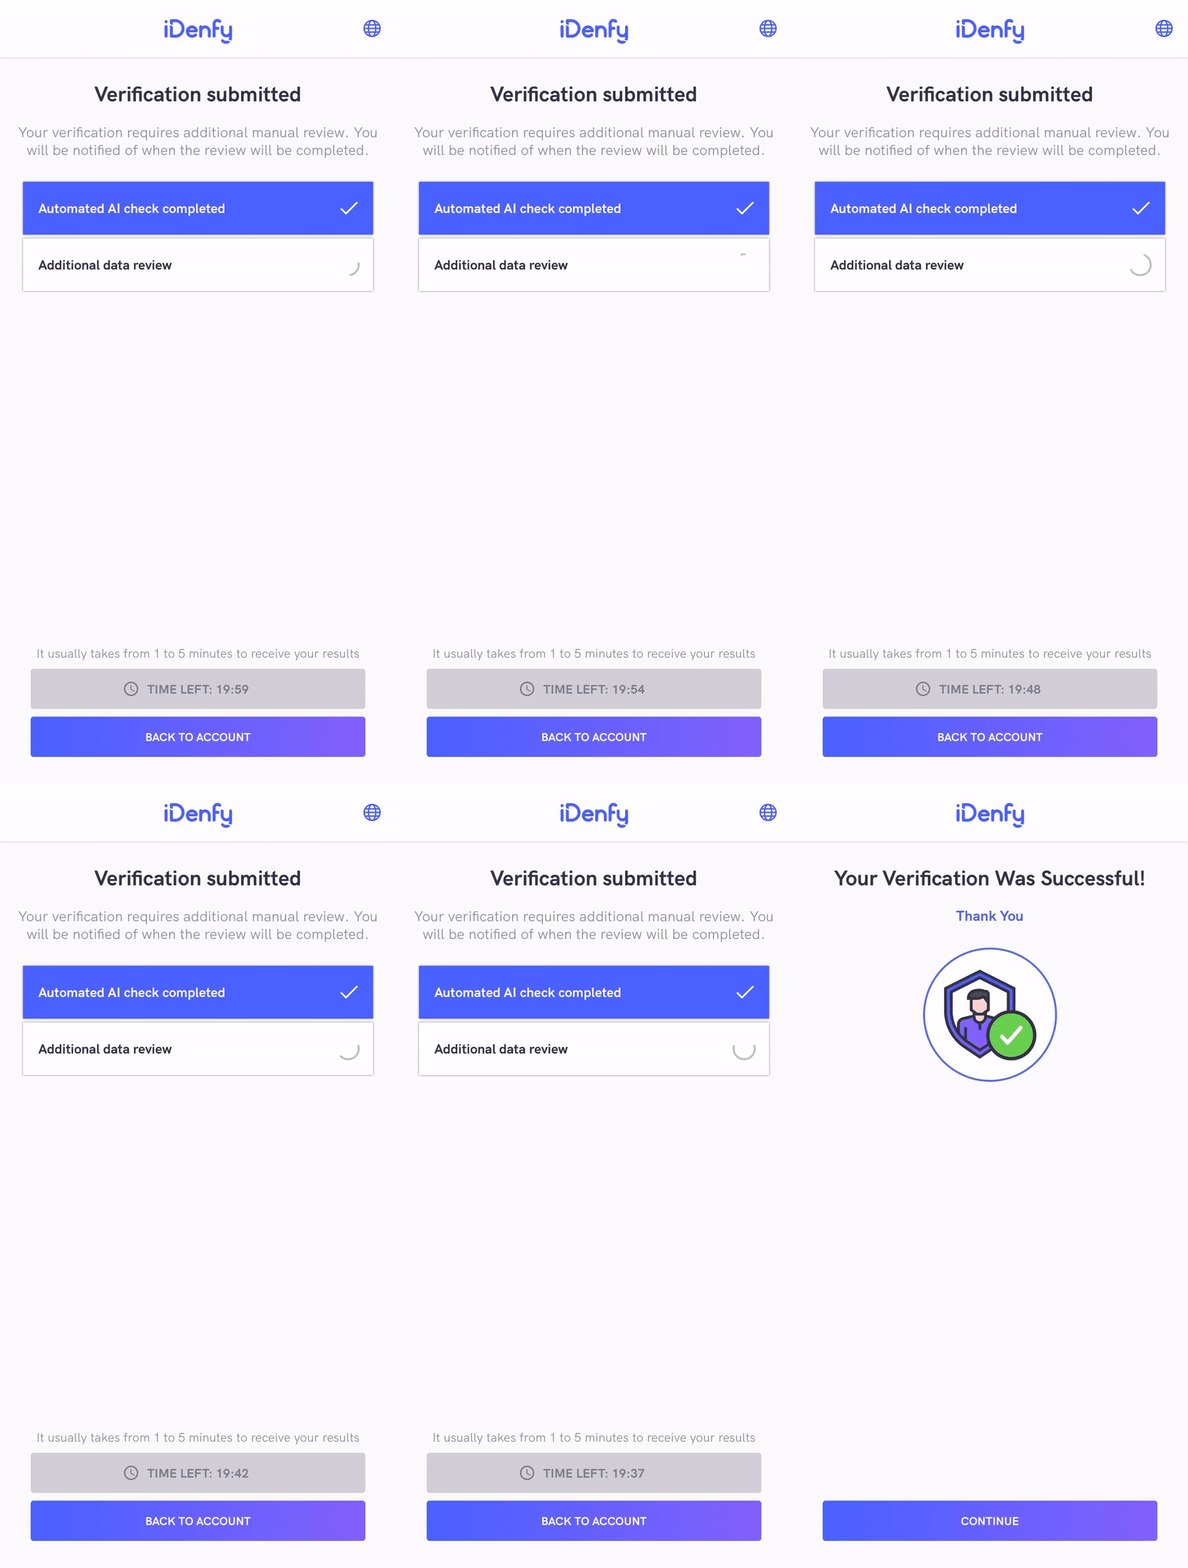
These SDK statuses are the same as iFrame integration statuses. The only difference is that the SDK returns INACTIVE if the manual verification screen was not opened during the verification session, instead of returning null as the iFrame does.
Also, the iFrame does not close automatically since it can deliver results without closing itself.
After the SDK finishes and closes itself, you will also receive a webhook callback to your backend system.It might be useful to completely ignore the SDK status and communicate between your app and your backend service about verification status.